Sensory Map

Welcome to the Royal Armouries Museum.

This sensory map is designed to help you plan and enjoy your visit by providing clear information about the museum environment. It highlights different sensory experiences you may encounter, as well as the interactive activities available throughout the galleries. 

At times, the museum can feel busy and noisy, particularly during weekends, school holidays, and when school groups are visiting. Some areas may also become crowded when live shows or demonstrations are taking place. 

We hope this guide helps you feel more prepared, comfortable, and confident as you explore at your own pace.

Download the Sensory Map (pdf, 6.18MB)

Key

Entrance, café and shop

-

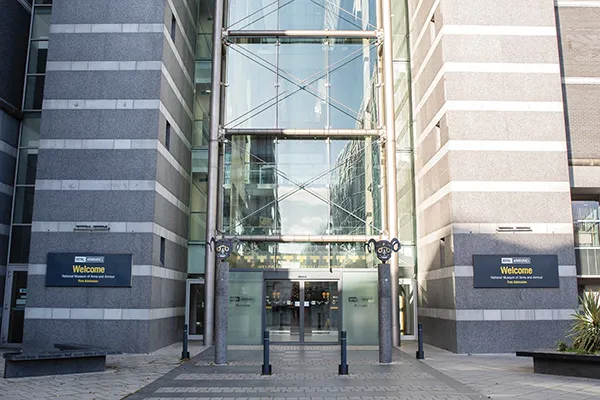
This is the main entrance to the Royal Armouries Museum. Go through the automatic doors, which will open when you approach.

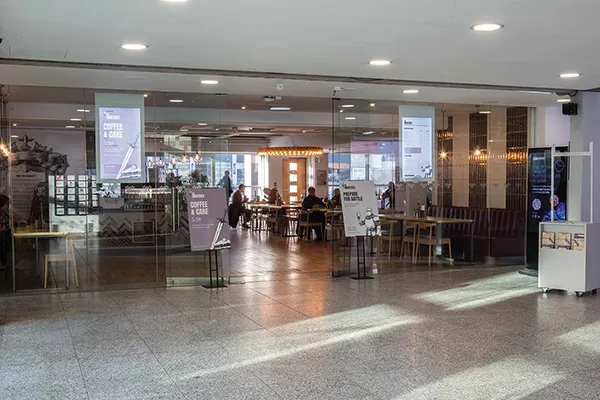
The entrance and seating area of The Masters café on the museum’s ground floor

When you enter the museum, you will see the café on the left. The café offers food and drink, free drinking water, male and female toilets, and an accessible toilet.

Row of icons indicating sensory conditions: noisy space, busy crowd level, and strong odours or scents

The café can be busy, loud and have strong smells of food.

-

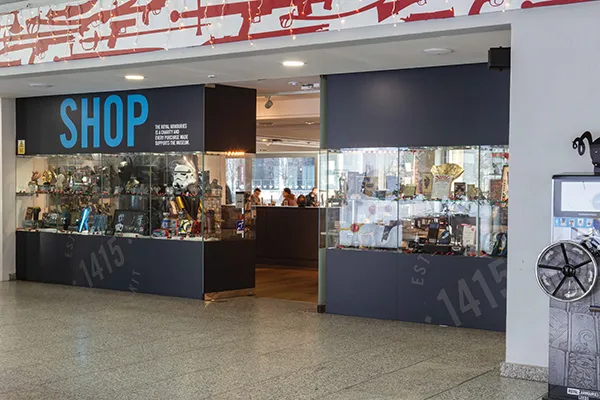
Next to café, you will find the museum gift shop.

Two icons indicating sensory conditions: noisy space, busy crowd level.

The shop can become busy and loud.

Two icons indicating sensory conditions: noisy space, busy crowd level.

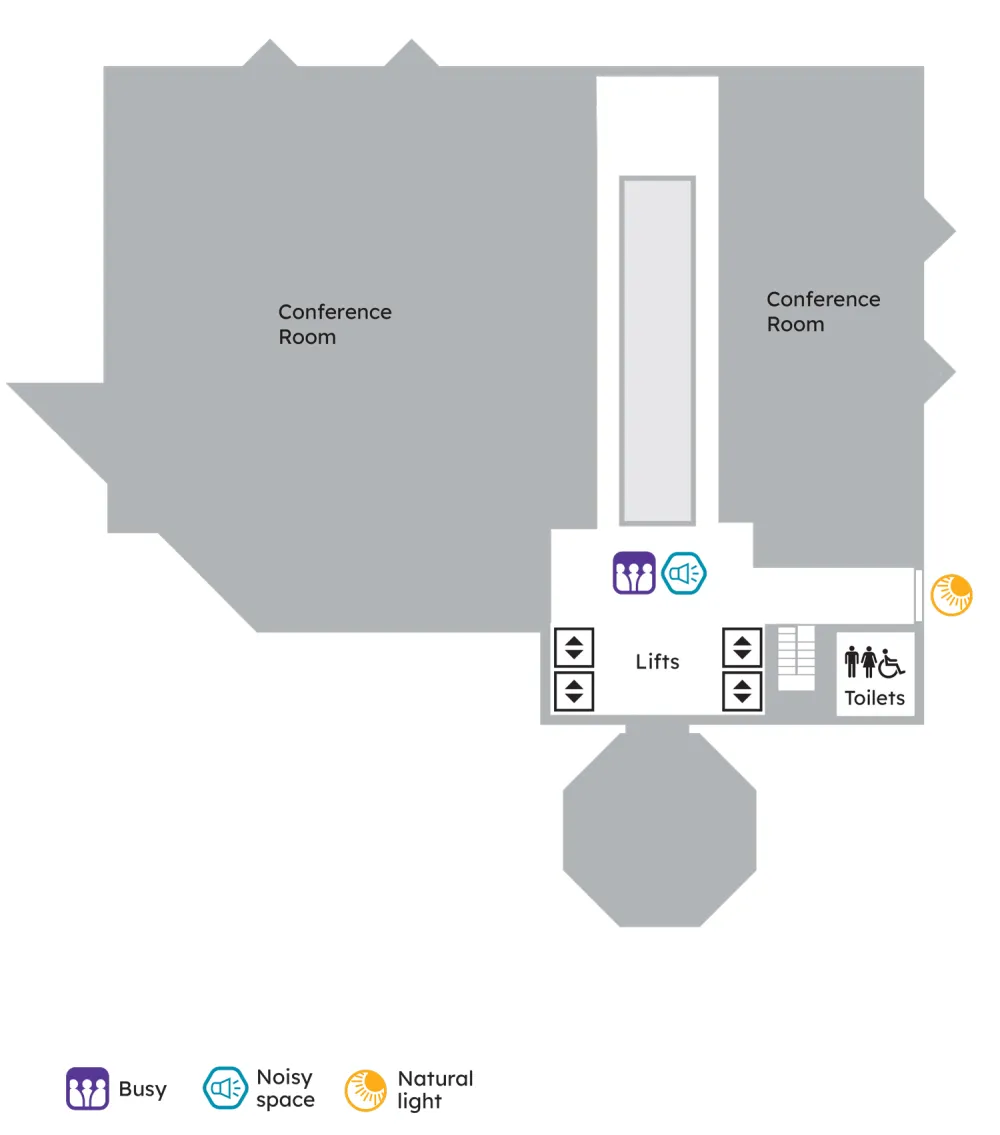
The ground and first floors contain conference rooms, which can become busy and noisy when in use.

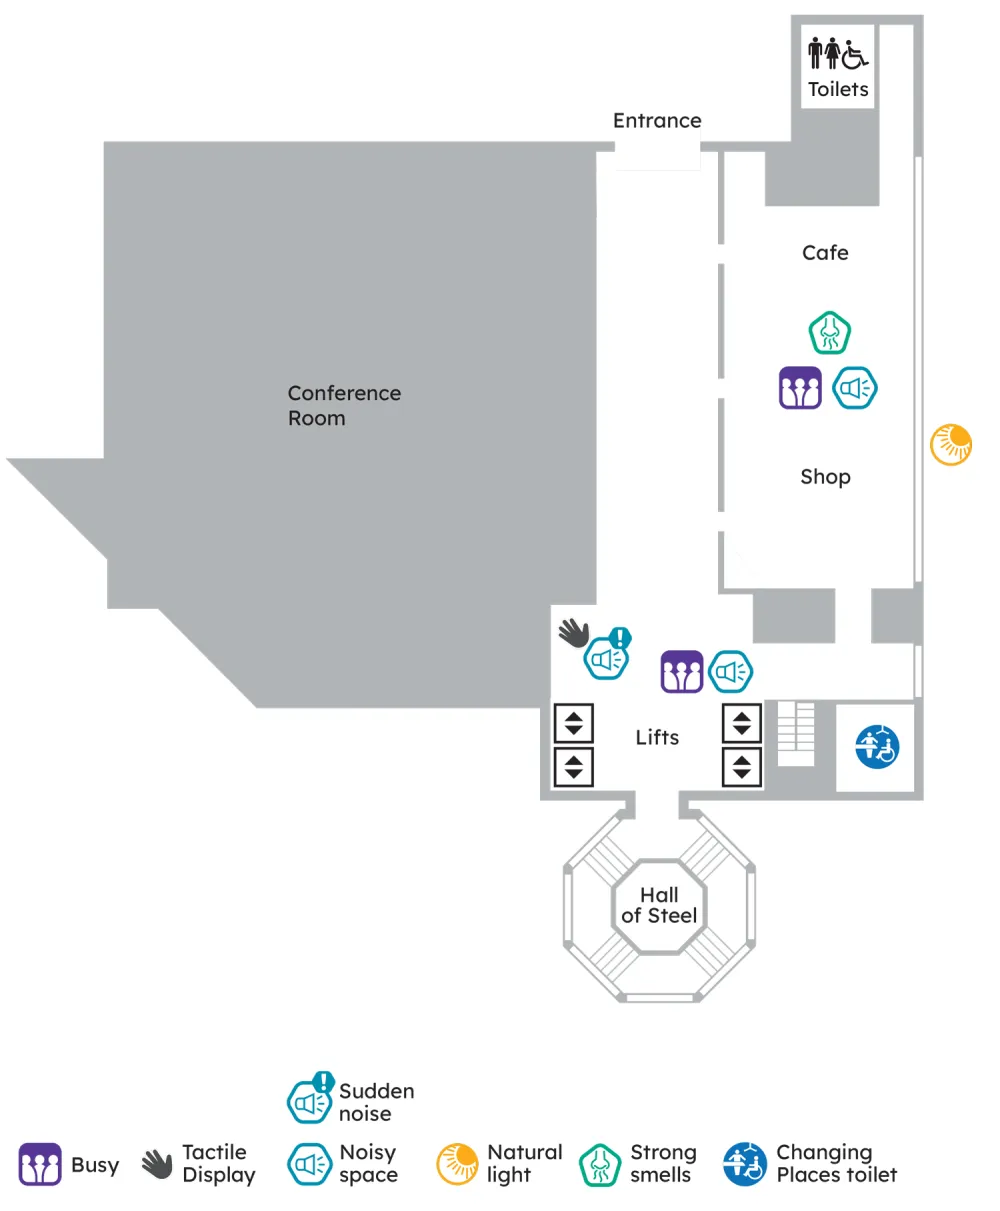
Ground floor map

Entrance, Café, shop and conference room 

Floor plan showing Entrance, Cafe, Shop, Toilets, Lifts, and Hall of Steel, with sensory icons for noise, smells, and crowd levels

First floor map

Conference rooms 

loor plan showing Conference Rooms, Lifts, Toilets, and sensory icons for Busy, Noisy space, and Natural light near the lift foyer

War Gallery and Tournament Gallery

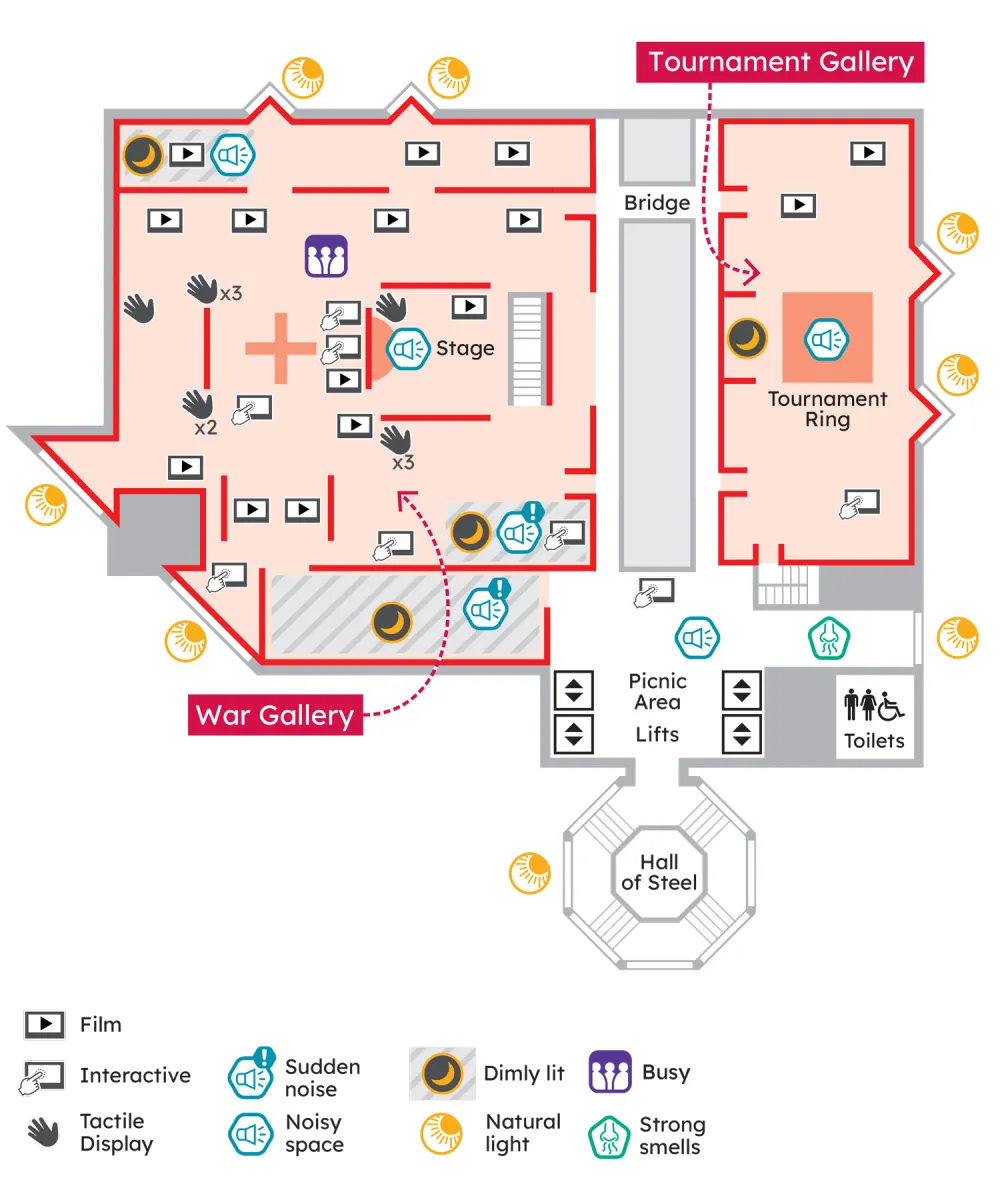
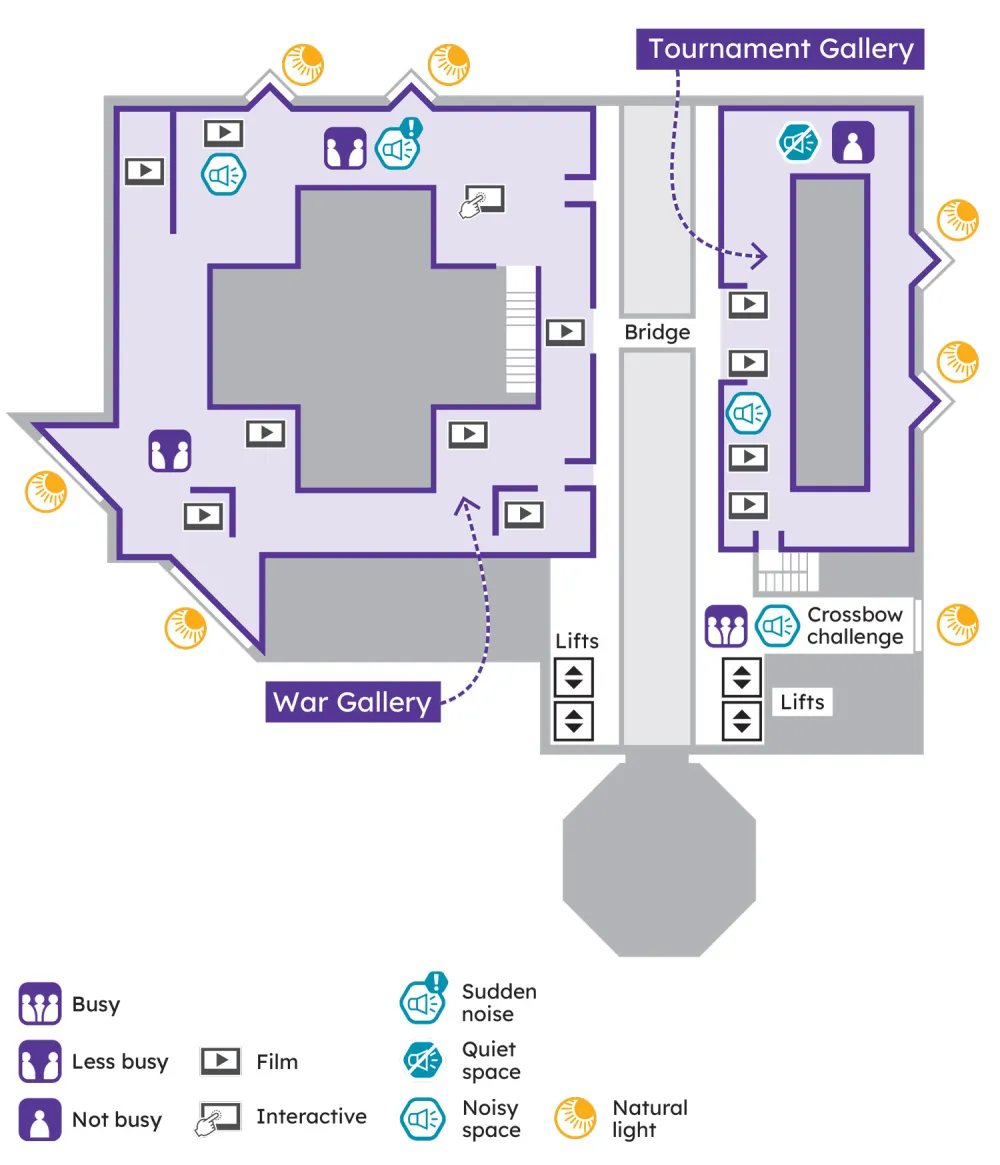
The War and Tournament galleries both span the 2nd and 3rd floors. The entrances to these galleries can be accessed from the lift areas on floors 2 and 3. Food and drink should not be taken into the galleries. This is to protect the collection from damage.

-

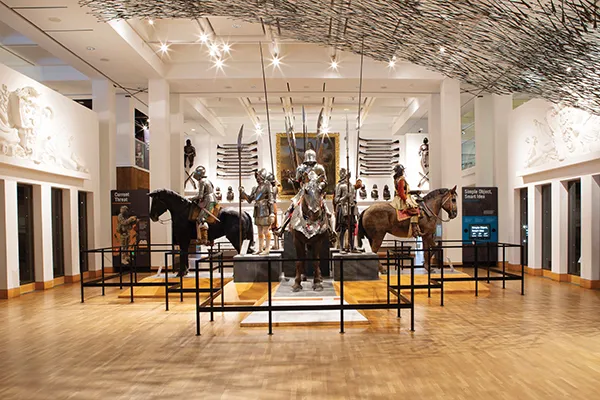
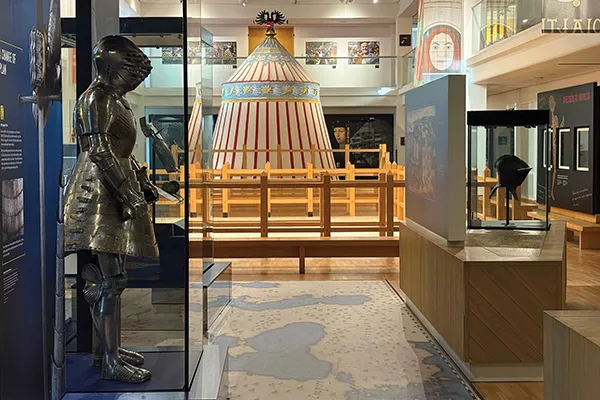
The War Gallery will take you through the development of arms and armour used in warfare from as early as the Ancient Greeks until the Second World War. It is on the left of the lift area and is the largest gallery.

Two icons indicating sensory conditions: noisy space, busy crowd level.

There are two areas where live shows happen in the War Gallery, and the gallery can become busy and noisy when these are scheduled.

-

The Tournament Gallery displays our collection of arms and armour used for competitions and tournaments such as jousting. It is on the right of the lift area. In the middle of the gallery is the Tournament Ring where live demonstrations take place. When shows are scheduled here the gallery can become much busier.

Purple square icon with two white silhouettes spaced apart, indicating a less busy area or moderate crowd levels

This is a smaller and quieter gallery.

Second floor map

War Gallery and Tournament Gallery

Floor plan showing War Gallery and Tournament Gallery with sensory icons for noise, tactile displays, films, and lighting

Third floor map

War Gallery and Tournament Gallery

Floor plan showing War Gallery and Tournament Gallery with sensory icons for light, noise levels, interactive screens, and crowds

Asian and African Gallery, Self Defence
Gallery and Special Exhibition Gallery

The Asian and African, Self-Defence and Special Exhibitions galleries are on floors 4 and 5.

These galleries are on either side of the lift area. Food and drink should not be taken into these galleries to protect the collection from damage.

-

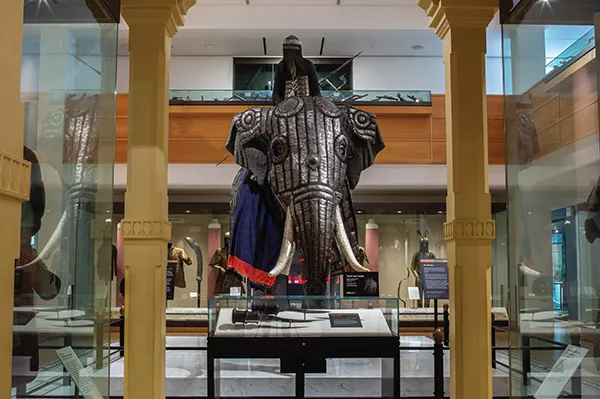
The Asian & African gallery houses an array of arms and armour from across the globe. It spans the 4th and 5th floors and is on the left of the lift area.

Yellow crescent moon on a dark grey circle within a yellow border, indicating a dimly lit space

The lighting in this gallery is dim. This is to protect the textiles on display.

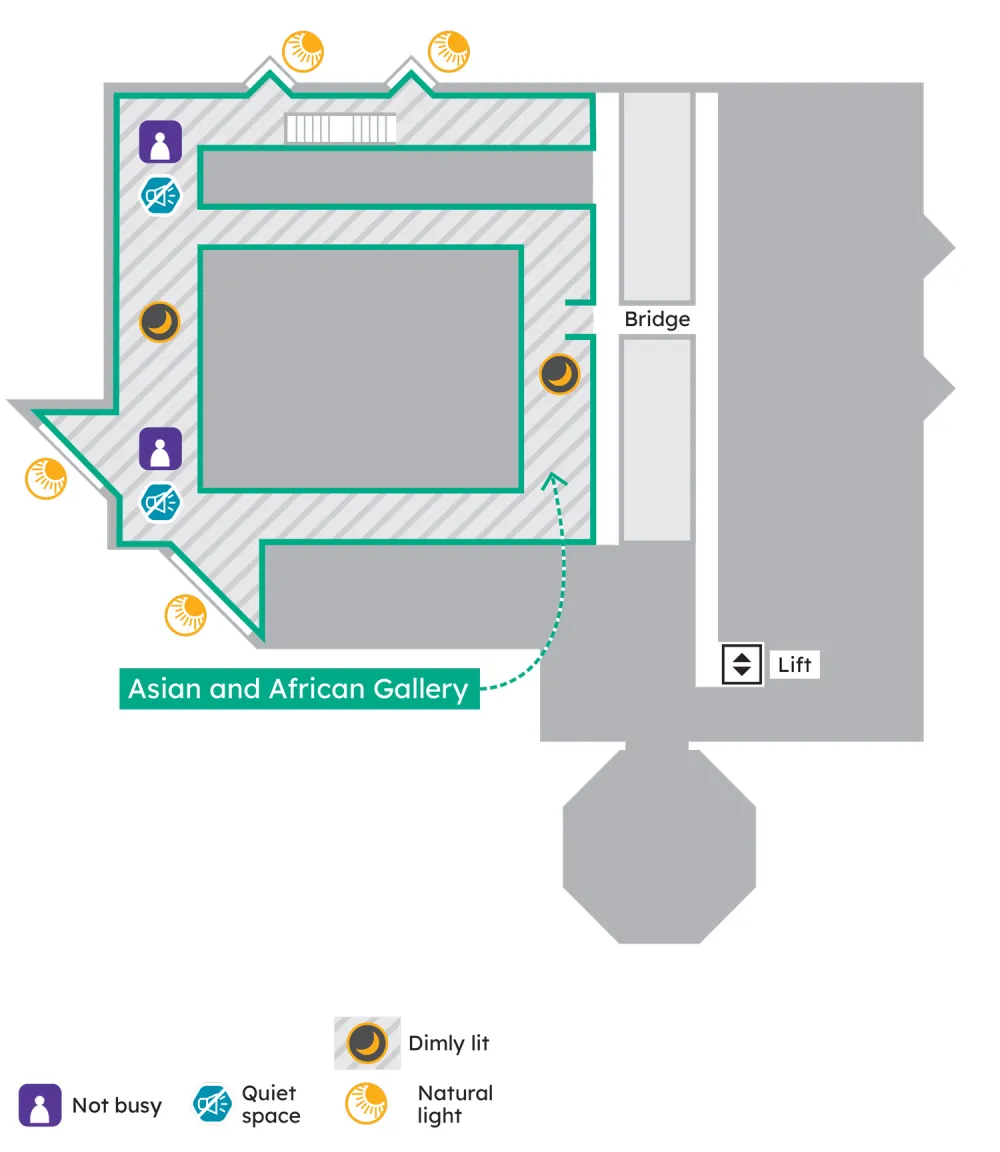
In this gallery is the Dojo which is a space used for live shows. When shows are scheduled, this area can become busy. The 5th floor of this gallery is the quietest gallery space in the museum.

-

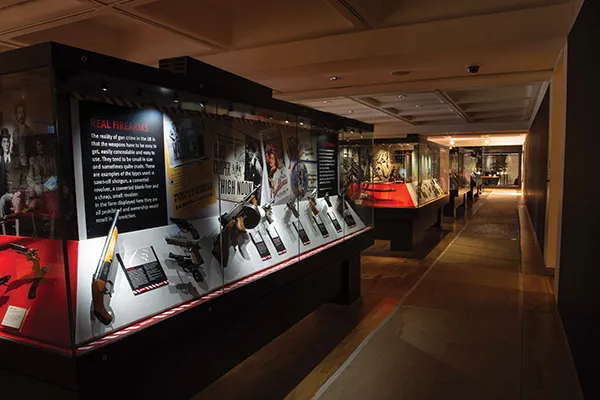
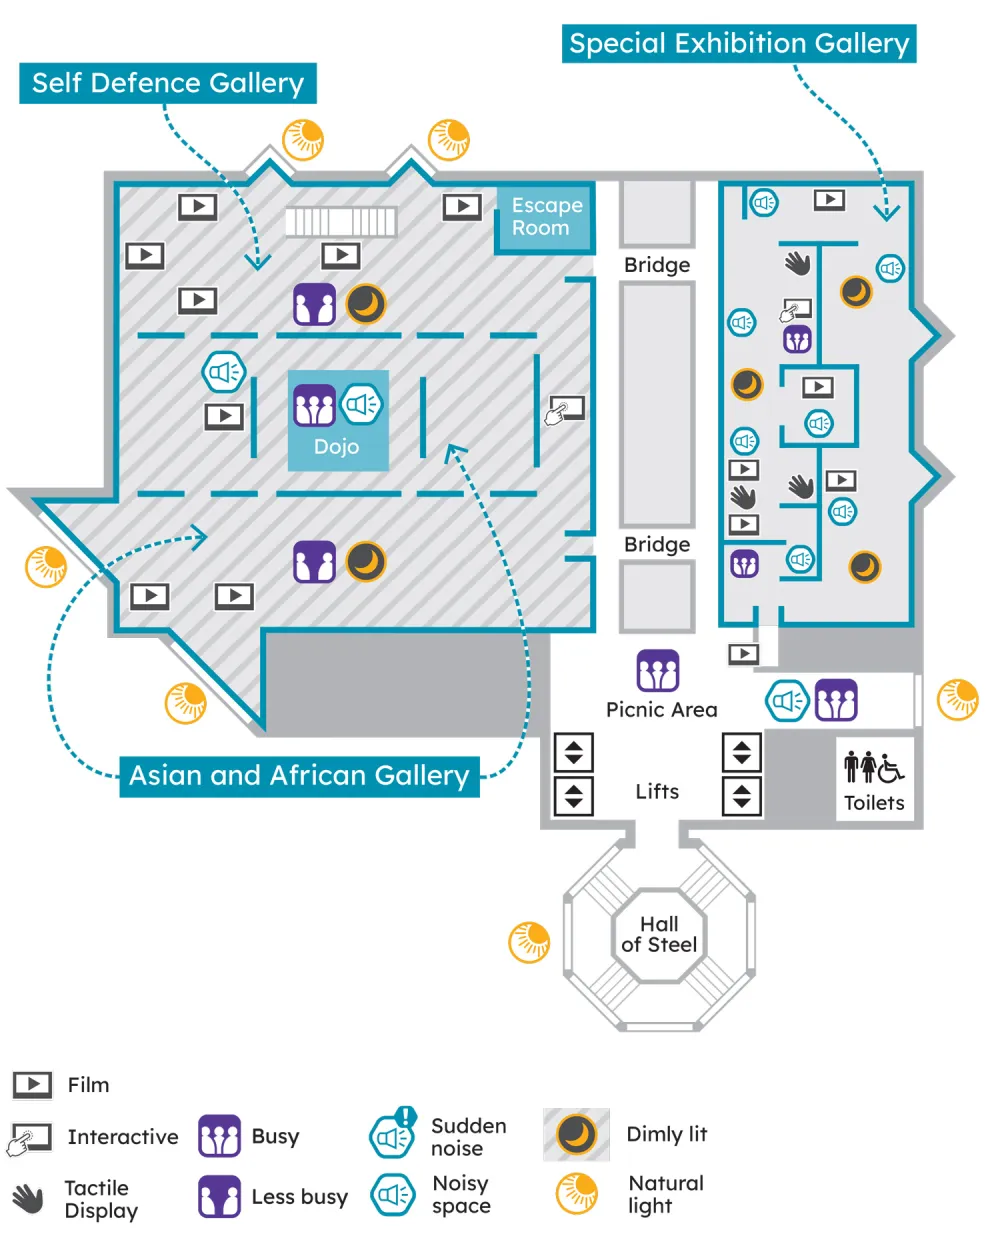
The Self-Defence gallery explores the use of arms and armour for personal protection with items from the medieval period to the modern day. It is on the 4th floor and is located beyond the Asian and African gallery

Yellow crescent moon on a dark grey circle within a yellow border, indicating a dimly lit space

This is the smallest and dimmest gallery in the museum.

This gallery is generally a quiet area on non-busy days. There are no live demonstrations in this gallery.

-

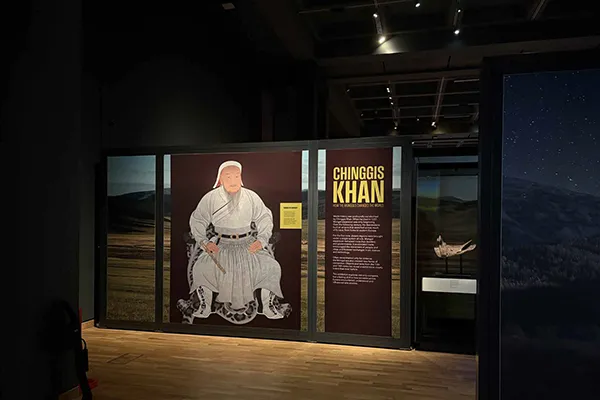
The Special Exhibitions gallery is on floor 4 to the right of the lift area. This gallery houses temporary exhibitions. The current exhibition is: Genghis Khan, How the Mongols Changed The World. The exhibition is a paid experience. In between exhibitions this gallery will be closed.

Two sensory icons side-by-side: a teal speaker for noise and a yellow crescent moon on a dark circle for dim lighting.  Pair of sensory icons indicating a noisy space with low light levels, showing a speaker symbol and a crescent moon

The lighting in this gallery is dim and contains lots of noises

Fourth floor map

Asian and African Gallery, Self Defence Gallery and Special Exhibition Gallery

Floor plan showing Self Defence and Special Exhibition Galleries with sensory icons for noise, crowd level, film, and tactile exhibits

Fifth floor map

Asian and African Gallery

Floor plan of Asian and African Gallery with Bridge and Lift, marked with icons for Not busy, Quiet space, Dimly lit, and Natural light
Was this page useful?
Wrapper
Was this page useful?